Baking
So far everything has been a live preview. Baking commits Grasshopper geometry into the AutoCAD drawing as permanent entities. Let's do it with a minimal worked example.
This example covers raw geometry only. Geometry such as curves, surfaces, and solids exists in both Rhino and AutoCAD, so it can be modelled in Grasshopper and baked straight across. Some objects, however, are AutoCAD-only types — Blocks, Layers, Line Types, and Layouts have no direct Rhino equivalent and are handled with dedicated components rather than this geometry-bake flow. Those are introduced in AutoCAD-Native Types.
Build the definition
- Open Grasshopper (
GRASSHOPPER) and create a simple piece of geometry — for example, a Circle (as in Grasshopper) or a Box. - From the AutoCAD tab, place the
Bake to AutoCADcomponent (abbreviatedAC-Bake, found under AutoCAD ▸ Baking) onto the canvas.
The component has the following inputs and output. You don't need to memorise them — hover your mouse over the component (or over an individual input/output node) on the canvas and Grasshopper shows the same information in a tooltip:
| Port | Name | Required? | Purpose |
|---|---|---|---|
| Input | Document (Doc) | Optional | Target AutoCAD document. If omitted, the active document is used. |
| Input | Objects (O) | Required | The geometry to bake — curves, points, meshes, and solids. |
| Input | Settings (S) | Optional | Bake settings — layer, linetype, and colour to apply to the baked entities. |
| Input | Bake | Required | A boolean. When true, the objects are baked to AutoCAD. |
| Output | ObjectIds (Ids) | — | The AutoCAD ObjectIds of the entities that were created. |
- Wire your geometry into the Objects input.
- Leave Document and Settings empty for now — the bake will target the active drawing and use default layer/colour. (You can revisit Settings later to bake onto a specific layer or colour.)
Both Rhino and AutoCAD geometries are supported. The Objects input accepts native Rhino geometry and AutoCAD geometry — just wire either (or a mix) into it. The component converts everything to AutoCAD database objects when it bakes, so you don't need to convert types yourself beforehand.
- Add a Button and wire it into the Bake input.
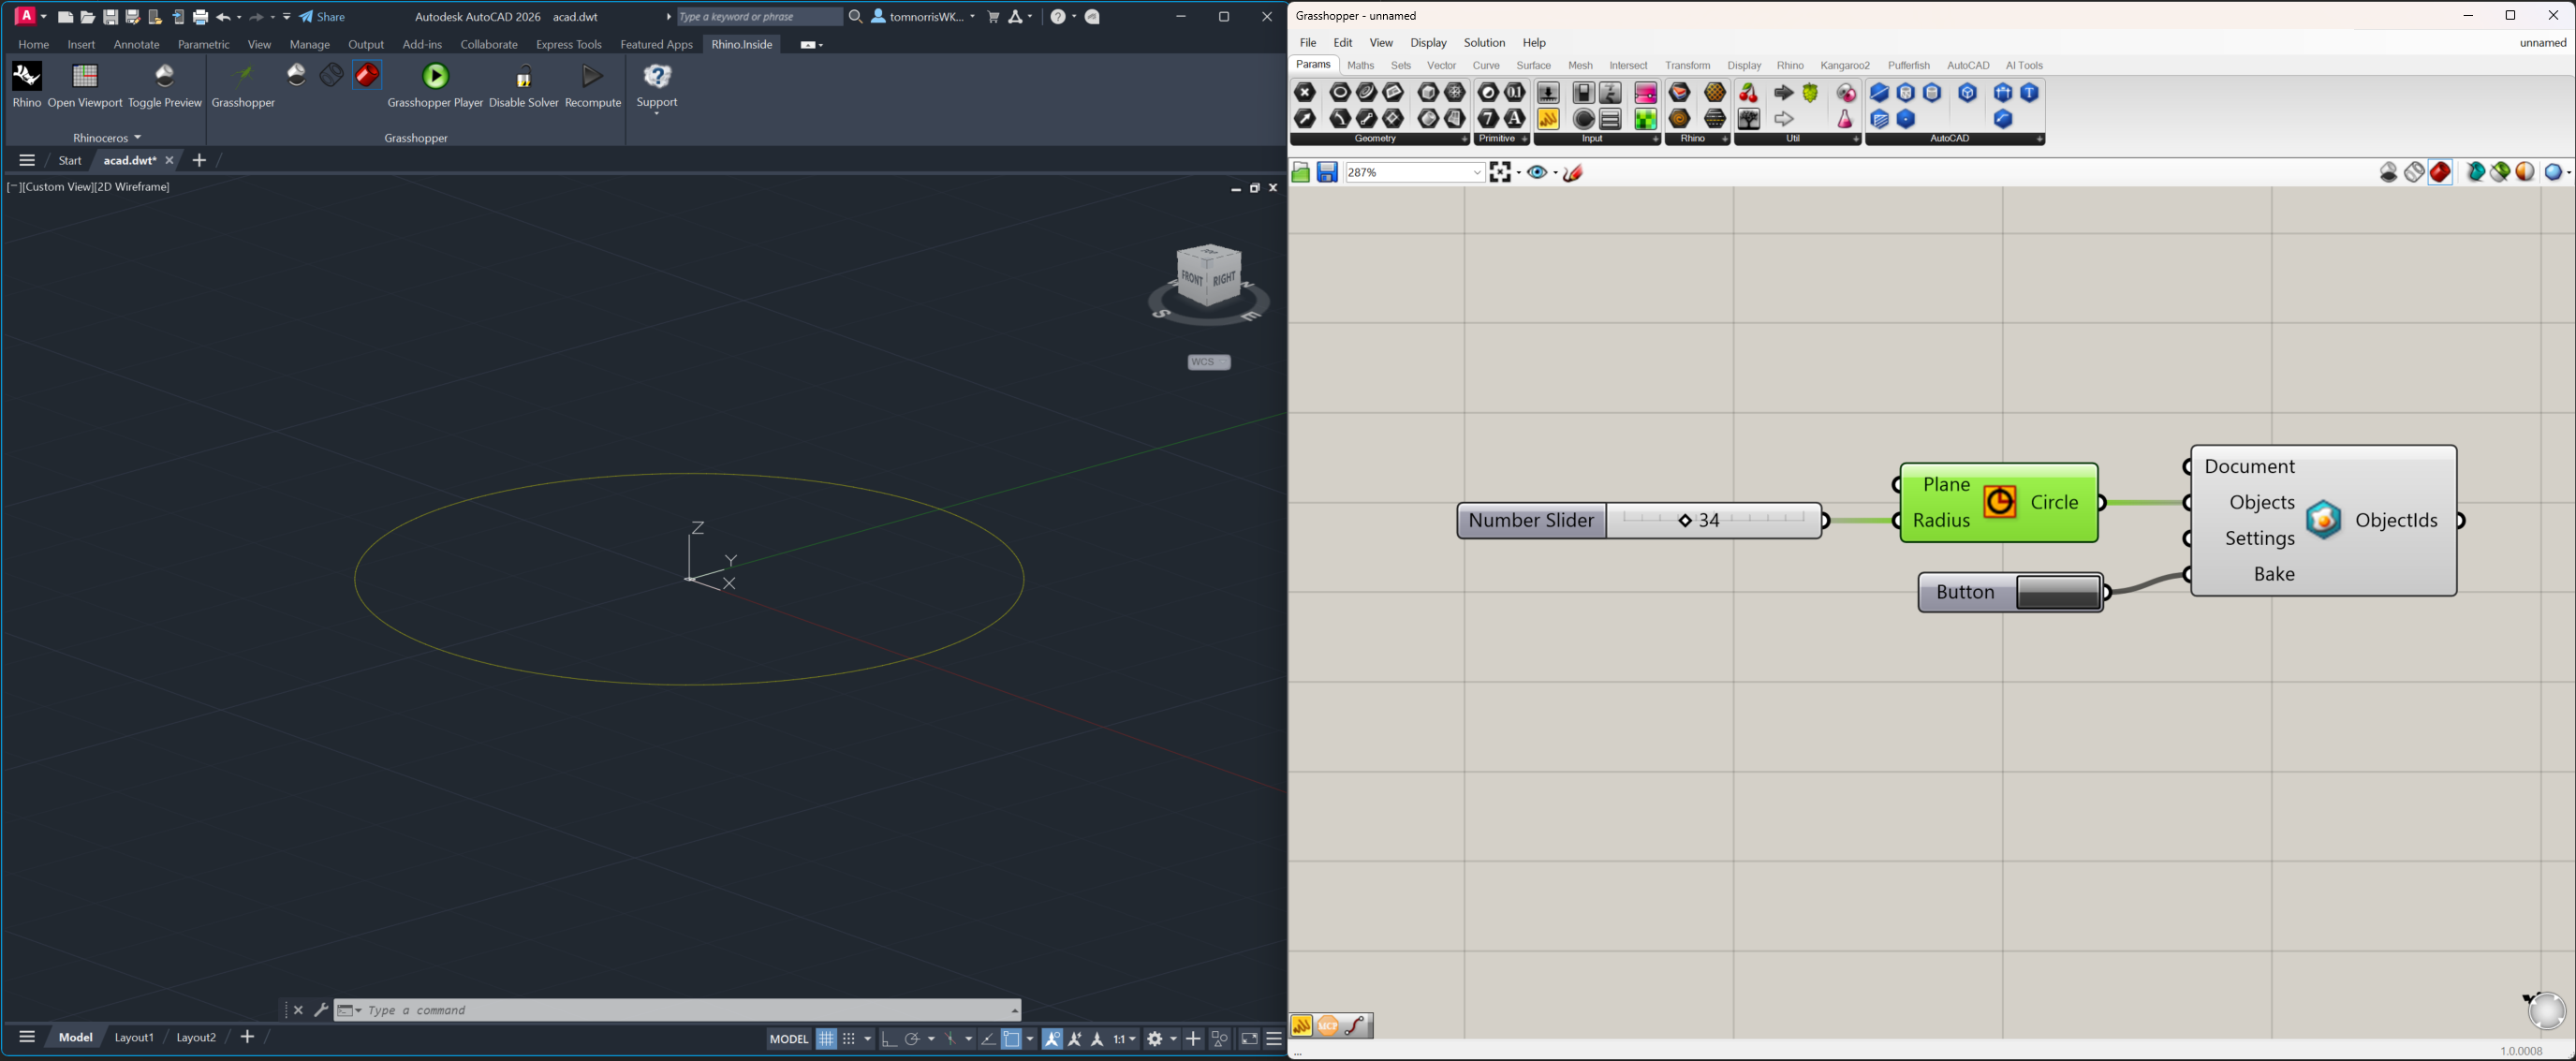 A Circle wired into the
 Bake to AutoCAD (AC-Bake) component, with a Button on the Bake input.
Bake it
- Press the Button. While pressed it sends
trueto the Bake input, which triggers the bake. - The geometry is written into AutoCAD's model space as real entities, and the component's ObjectIds output reports the IDs of what was created.
Preview vs baked. To prove the difference, turn the Grasshopper preview off (GRASSHOPPER_PREVIEW_OFF). The live preview disappears, but the baked geometry remains in the drawing — because it's now a genuine AutoCAD entity, not a preview.
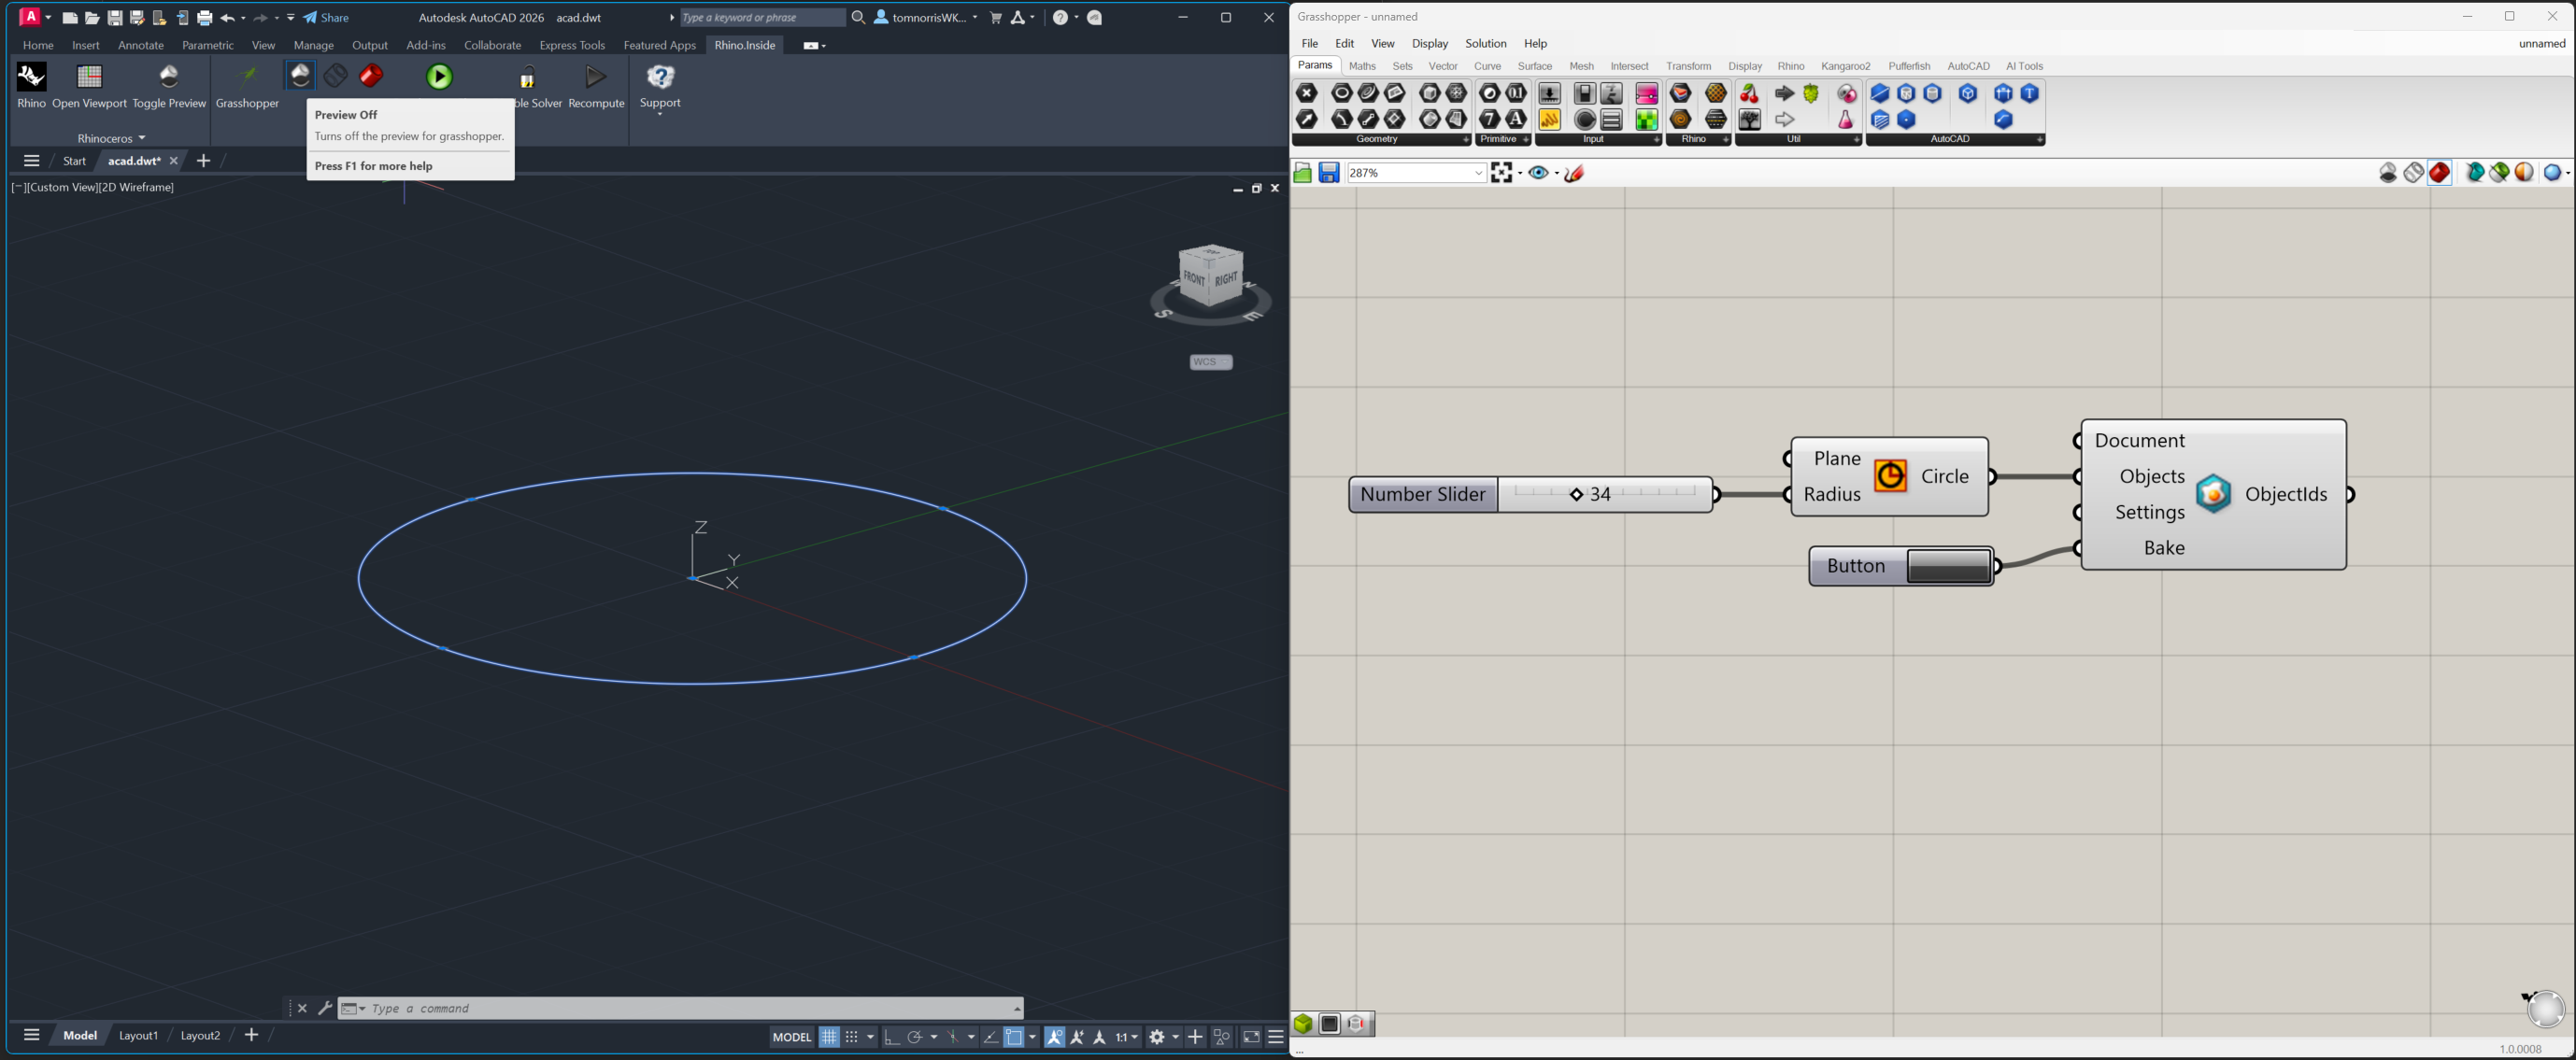 With the Grasshopper preview off, the baked entities persist in the AutoCAD drawing.
- Select the baked geometry in AutoCAD. Unlike the preview, it's selectable, lives on a layer, and will be saved with the
.dwg.
Baking creates new entities each time. Every press of the Button bakes again, producing another set of entities. Press it once per bake — don't hold or repeatedly click it — so you don't create duplicates while editing the definition.
Seeing double
Let's prove that warning to ourselves — it's the most important thing to understand about baking.
- Press the Button again. Look in AutoCAD: there are now two circles sitting directly on top of each other. The first bake didn't update — the second press created a brand-new circle alongside it. Baking always adds; it never replaces what you baked before.
- Delete the baked circles in AutoCAD. Select all the circles you've created and erase them, so you're starting from a clean drawing.
- Swap the Button for a Boolean Toggle. Delete the Button and wire a Boolean Toggle into the Bake input instead.
- Set the Toggle to
true. This bakes once, as before. - Now drag the radius slider. Watch AutoCAD: because the Toggle is held at
true, every time you change the slider Grasshopper recomputes and bakes again. As you move the slider you leave behind a trail of circles, each at a different radius. - Set the Toggle back to
falseto stop baking.
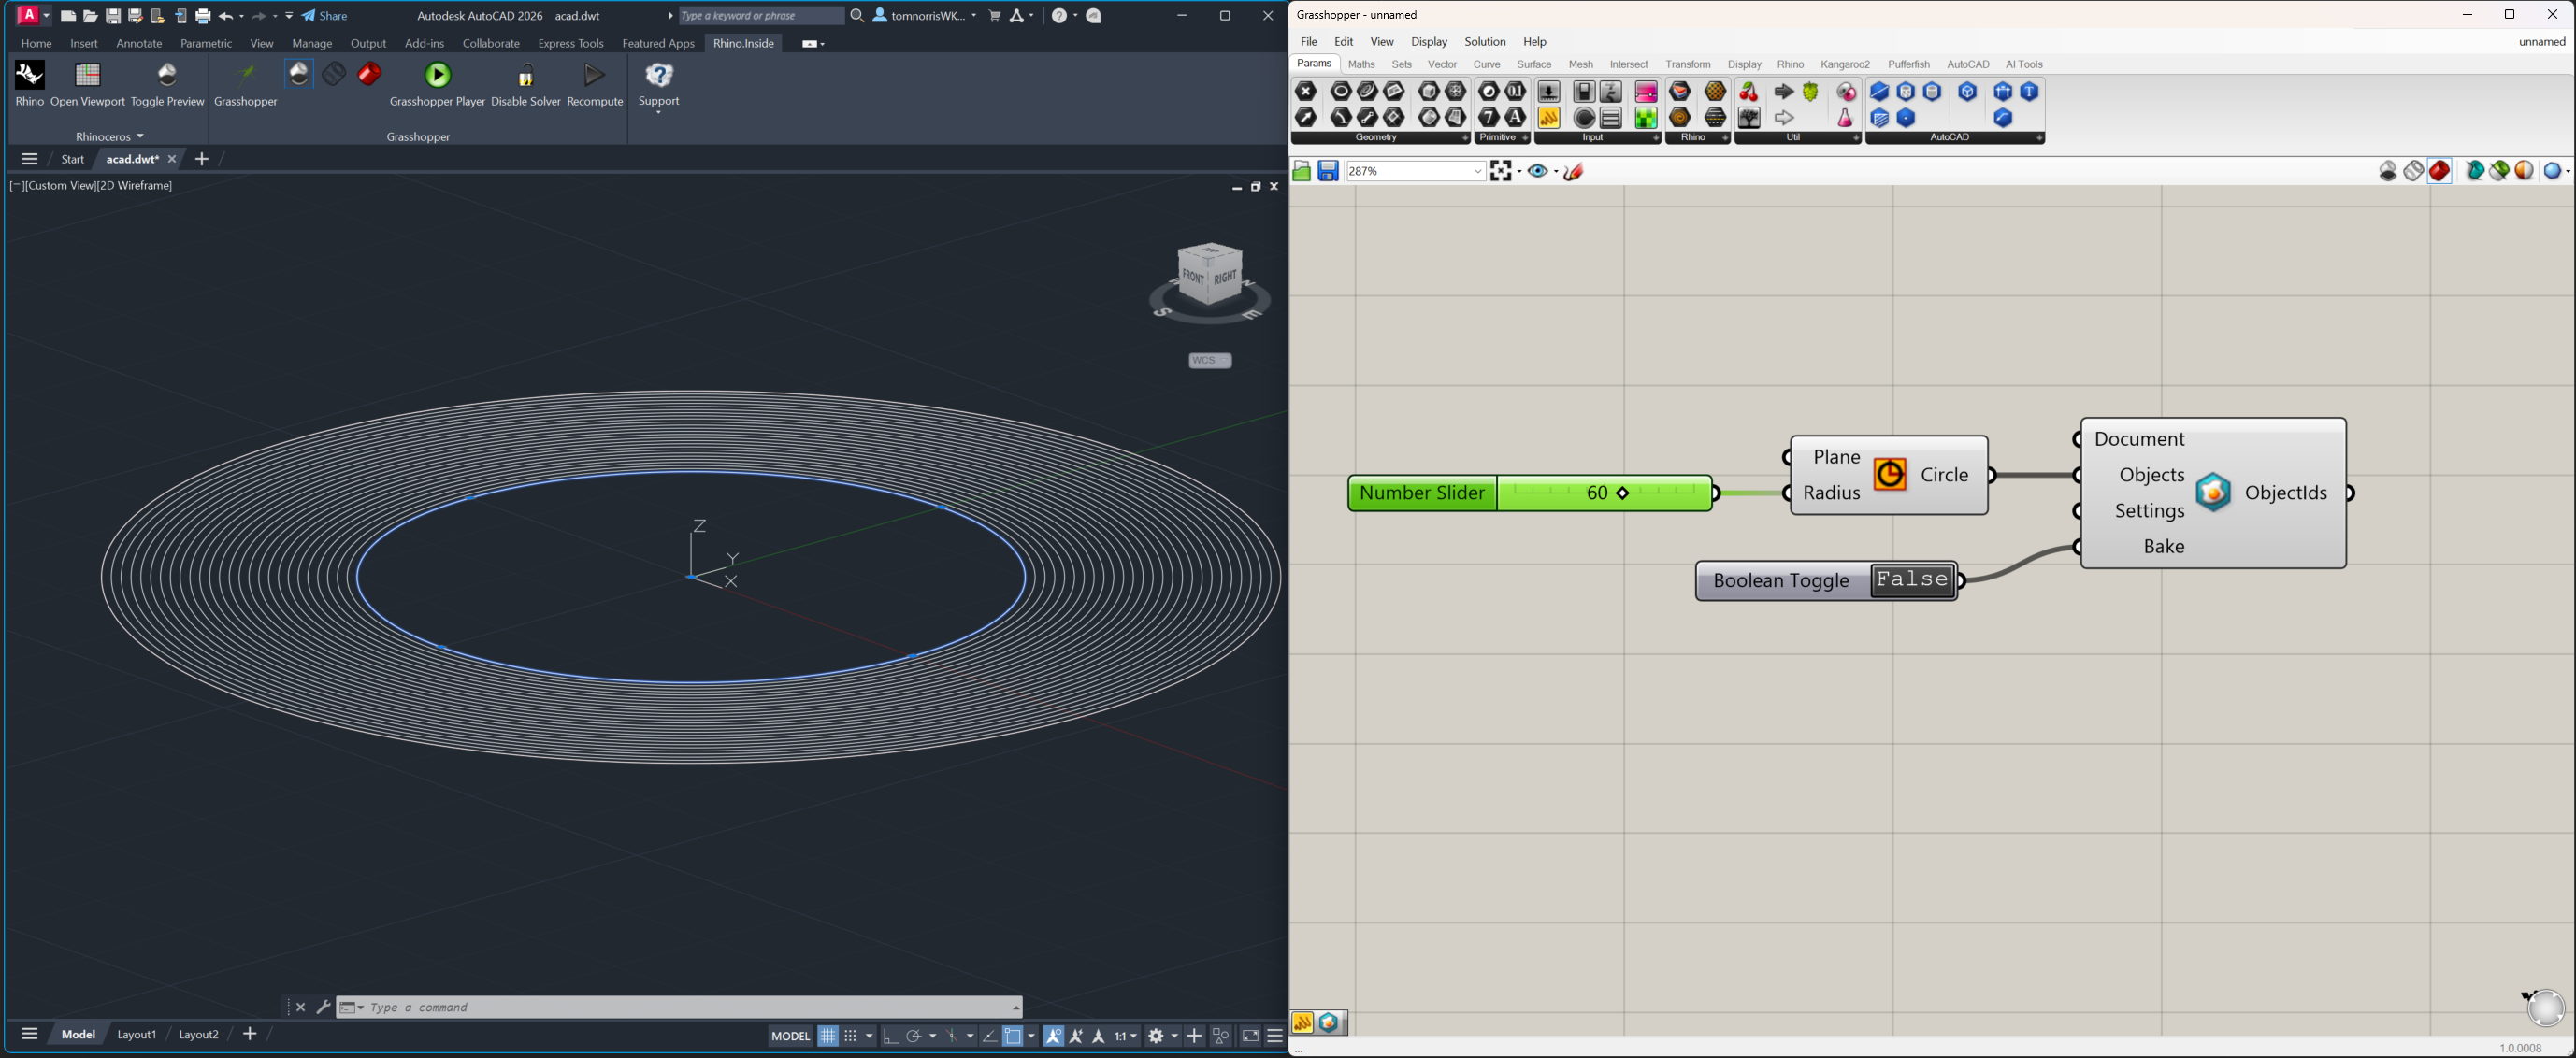 A held-
true toggle bakes on every recompute, scattering a circle at each radius the slider passed through.
Why a Button, not a Toggle. A Button sends true only for the instant you press it, so it bakes exactly once — one deliberate commit. A Toggle held at true bakes on every solution, so any change upstream (like moving a slider) bakes again and again. For a controlled, one-shot bake, use a Button.